As a drafter you know how time-consuming it can be to create accurate drawings for wood or light gauge steel framing.
Ensuring panels accommodate MEP elements, keeping cut lists updated, ensuring stud spacing is accurate—such tasks can make it challenging to achieve your deadlines.
You might already know how CAD software can simplify the job for various trades. But what about the drafter responsible for the framing?
In this article we’ll provide 10 ways framing software boosts your productivity as a drafter.
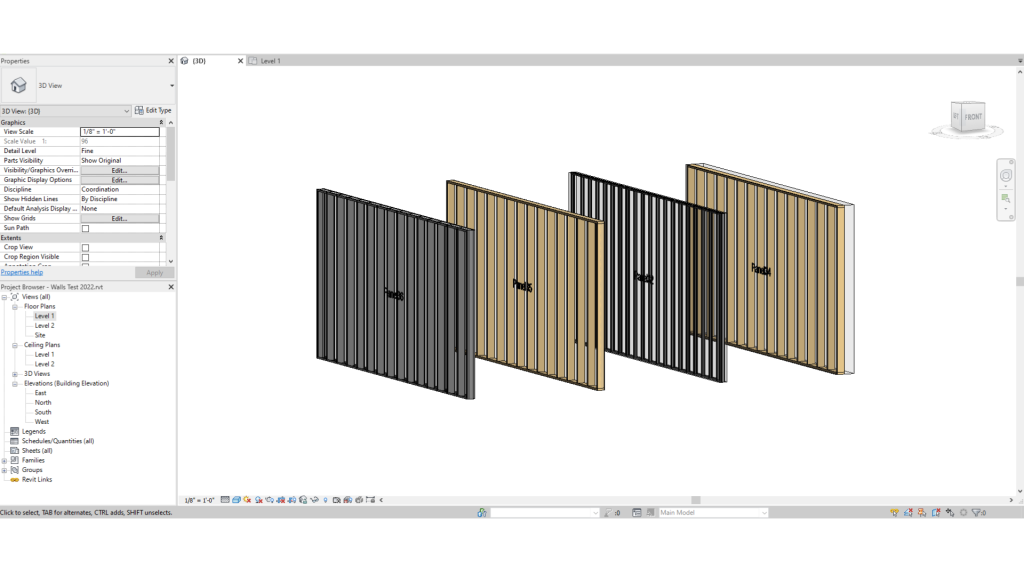
1. Automatic Generation of Customized Panels
Panels with customized configurations and individual elements including:
- Backing members
- Blocks
- Punches
- Service holes
- Hold downs,
- and anchors,
Can be generated automatically using framing software. It also ensures that panel combinations are precise and constant throughout the project.
2. Custom configuration templates
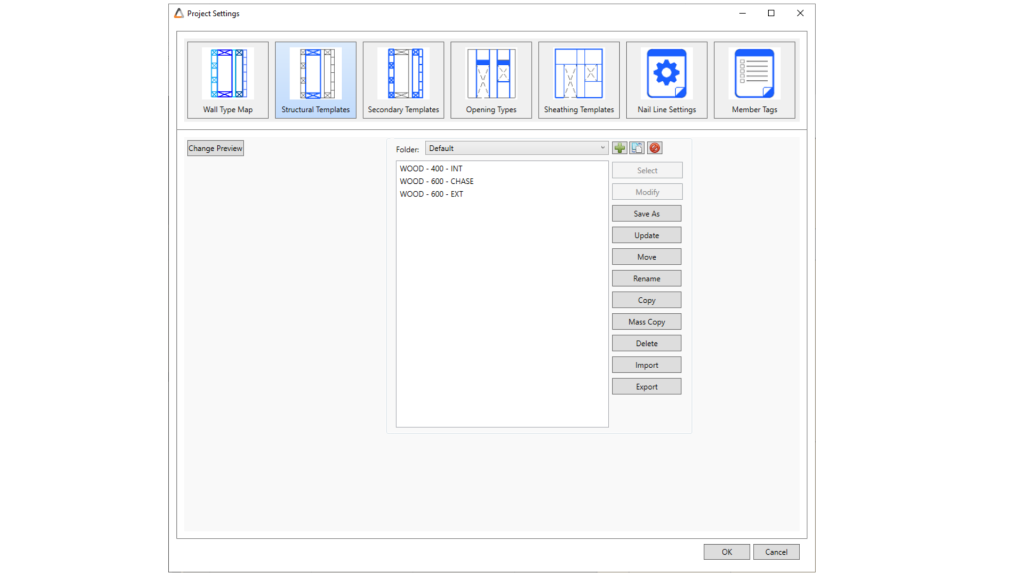
What if your project is rather complex, and requires you to work with multiple types of walls, floors or ceilings? It is possible to create predefined templates where you can configure different components, dimensions and placements for walls, floors or ceilings. Once these templates are created, you can populate models quickly and efficiently.
3. Template Map and Quick Create
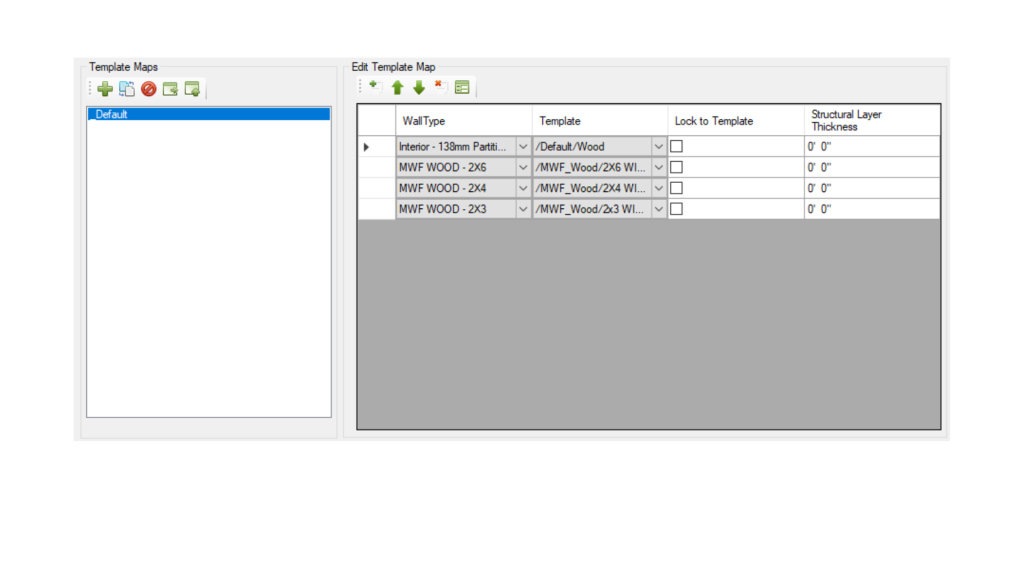
Users can utilize the template map tool to assign previously defined settings or templates to your custom walls, floors, or ceilings. Consider the time it takes to position different panel types for a certain section or level of the building—this feature helps to accelerate that process and your workflows even further.
4. Clash Detection and Interference Recognition
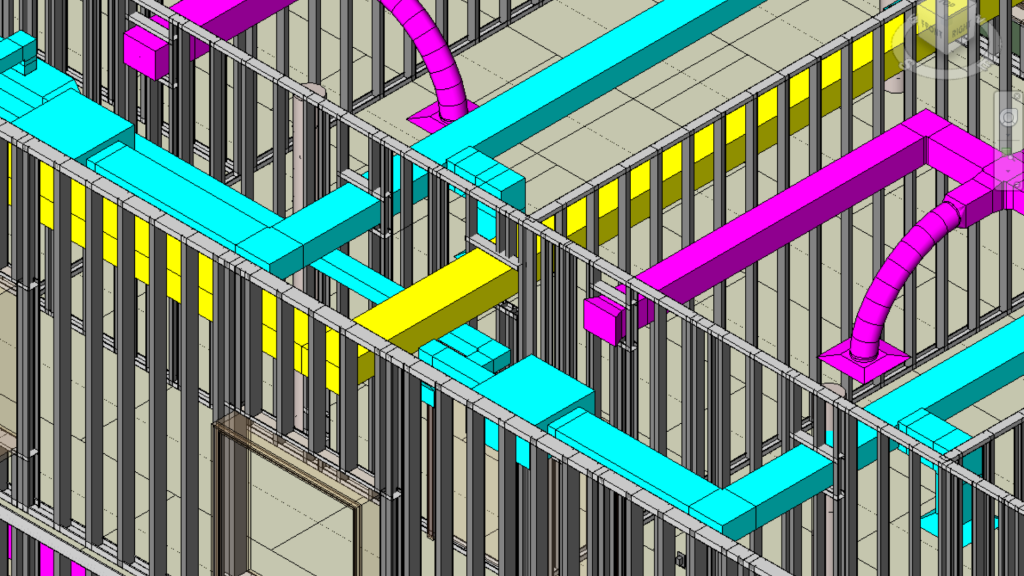
Framing software such as MWF can recognize clashes and automatically place framing around them. This applies to various types of Revit elements including MEP.
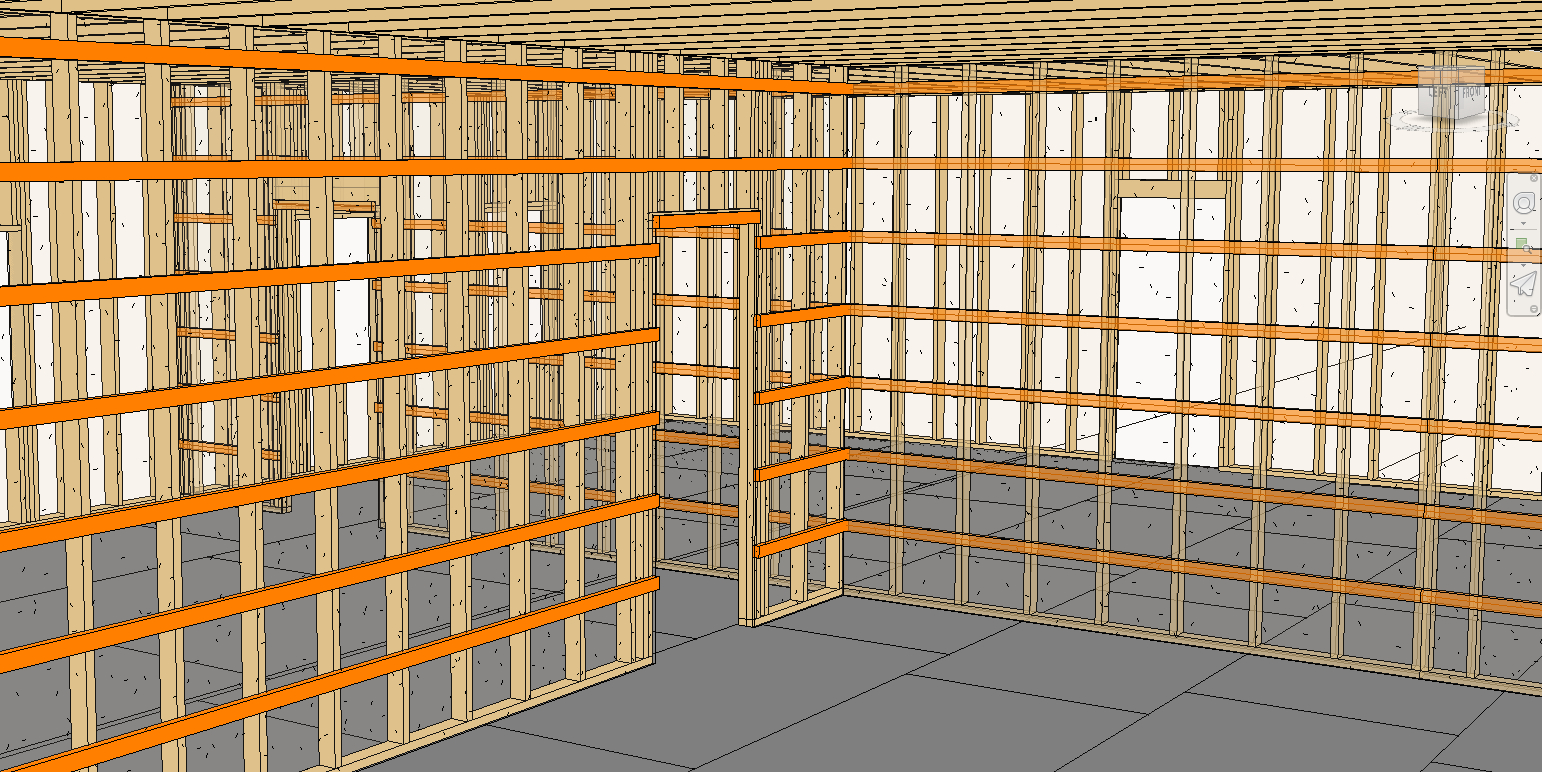
5. Generate Sheathing and Furring
Placing furring and sheathing in your Revit models manually can be a time consuming and error prone process. Ensuring the elements are correctly oriented, and align with window and door openings adds an extra layer of difficulty. Framing software can streamline this process and help you position elements accurately, resulting in a consistent design.
6. Automatic Fastener Count Calculation
The ability to calculate fastener counts automatically per panel makes the estimating process that much easier for drafters. This results in a comprehensive and accurate bill of materials (BOM), ensuring the right amount of material is ordered.
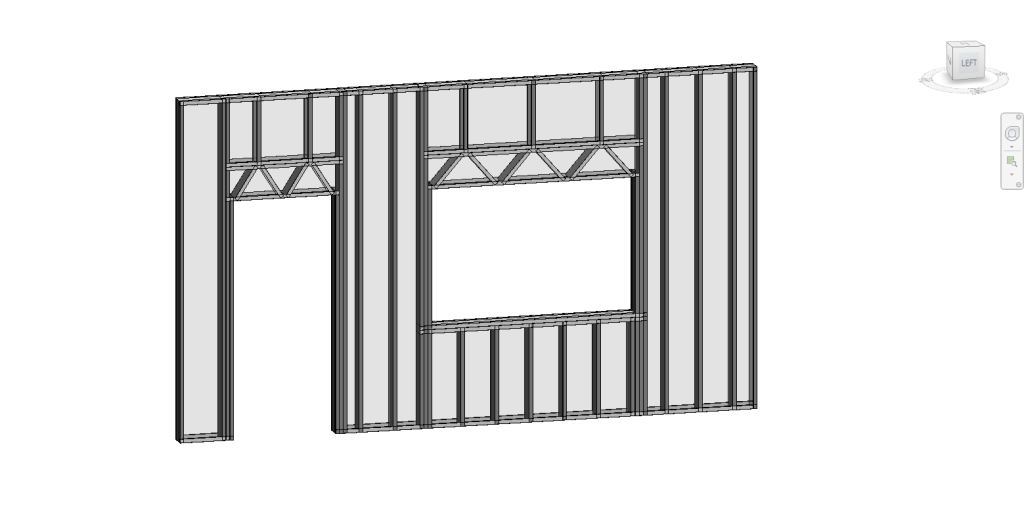
7. Configurable Header / Sill and Jamb Configurations
By offering drafters several header/sill and jamb configurations, you are able to better customize opening framing conditions. These configurations also integrate with openings in your models, making the process that much easier. By providing this flexibility, framing software enables drafters to optimize their designs and better accommodate project requirements.
8. Marker Lines
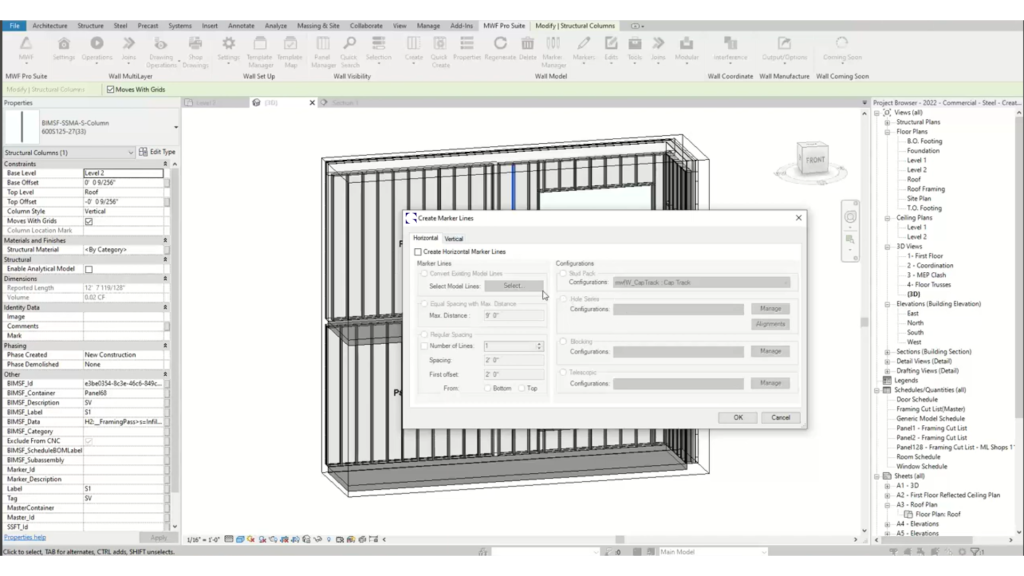
This tool makes it easier to apply blocking, stud packs, punches, or hole series to multiple panels simultaneously. Bulk changes can be made efficiently.
9. Enhanced Efficiency with Benchmarks
This feature allows drafters to arrange studs/joists using benchmarks. This capability ensures precise and consistent framing placement throughout the project. By leveraging benchmarks, drafters can enhance efficiency, improve accuracy, and expedite the framing design process.
10. Automated Shop Drawings Engine
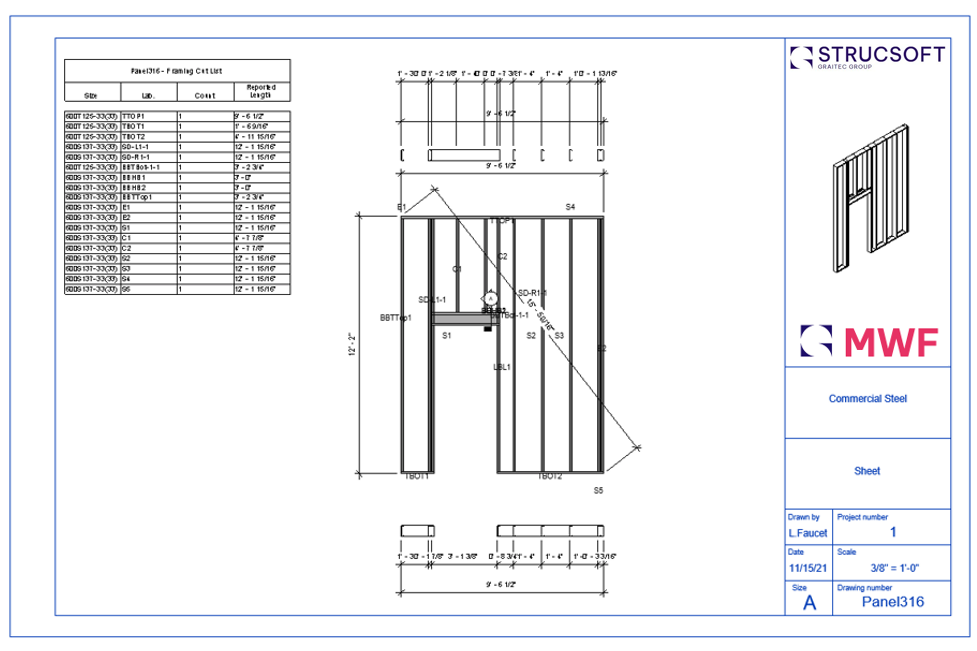
Last, but not the least. Not only is automation included during the framing process, but also applies during the creation of shop drawings. The shop drawings engine generates shop drawings (tickets) per panel, complete with custom dimensions, labels, and schedules/BOM (Bill of Materials). This feature streamlines the creation of detailed shop drawings, enhancing communication between drafters and construction teams.
Framing software offers tangible benefits for the drafter and other trades that are working on the same project. Whether your team is working on residential or commercial framing, using wood or light gauge steel—using this digital solution translates to faster and hassle free workflows.
Find out how StrucSoft’s MWF Framing Software can boost your Revit projects. Request your free trial, or book a demo with our team to learn more.
For more information on our products or design services, visit strucsoftsolutions.com, or email us at info@strucSoftsolutions.com
